

If you have been researching e-collar training for beginners, you have probably found plenty of opinions and not enough clear, practical guidance. Remote collar training can be a helpful part of building more reliable obedience when it is introduced carefully and paired with clear foundation work. When used correctly, the collar gives dogs a consistent signal that supports known commands, especially when distance and distractions make communication harder.
But the tool only works as well as the person using it. Without a solid understanding of how to introduce the collar safely, how to find the right stimulation level, and how to build from there, beginners can easily create confusion or stress instead of clarity.
This guide covers everything you need to know to start e-collar training the right way, from the basics of how the tool works to a practical step-by-step introduction and the most important commands to build on first.

Key Takeaways
- An e-collar is a communication tool, not a punishment device
- Your dog must understand basic commands before the collar is introduced
- Always begin at the lowest stimulation level your dog can perceive
- Collar conditioning comes before pairing the collar with any commands
- Build in quiet environments first, then add distractions gradually
- Stress signs mean it is time to slow down or get professional guidance
- Beginner e-collar training in Murrieta, CA, goes significantly smoother with professional support from the start
What Is E Collar Training?
An e-collar, also called a remote training collar, is a device that allows you to communicate with your dog at a distance. The collar receiver sits on your dog’s neck, and a handheld remote stays in your hand. When you press a button, the collar can deliver one of three types of signals: a tone, a vibration, or a low-level static stimulation.
The static stimulation is what most people are uncertain about. At low training levels, the goal is to use the lowest noticeable signal the dog can calmly perceive, not a high or startling correction. Because there are many misconceptions surrounding how e-collars work, learning the common myths about e-collar training can help owners better understand the tool and its proper use.
Many modern e-collars offer a wide range of stimulation levels, which can help handlers make small adjustments instead of jumping to a level that is too strong. The right level depends on the dog, the equipment, the environment, and the trainer’s timing. Beginners should start low, observe carefully, and avoid using the collar in a way that creates stress or confusion.
Remote collar training is used for recall training, off-leash obedience, place command work, leash manners, heel, and reinforcing commands at a distance. It is not a shortcut, and it is not a tool for correcting behavior out of frustration. The goal is always clear: consistent communication.
Effective dog training should be built on clear communication, good timing, consistency, and positive associations. Those same principles matter when introducing an e-collar. The tool should support training that the dog already understands, not replace patient teaching, rewards, leash guidance, and daily practice.
Is Your Dog Ready for E-Collar Training?
Before you introduce a remote collar, your dog needs to meet a few readiness criteria. Skipping this step is the single most common reason beginners run into problems.
Age matters. For Murrieta training programs, e-collar training typically begins around 5 months of age after a puppy has established a foundation through clicker or treat-based training. Younger puppies should focus on socialization, confidence-building, leash manners, crate and potty training, and basic obedience before moving into more advanced tools.
Command understanding matters more. Your dog should already understand basic cues like sit, down, come, heel, and place in low-distraction settings before the collar is introduced. If your dog does not yet understand what come means with leash guidance and rewards, stimulation from the collar will not teach the command by itself. It may only add confusion.
Investing time in dog obedience training before adding a remote collar is not a detour. It is what makes the collar actually useful once it is introduced.
Temperament matters too. Dogs that are highly anxious, fearful, or reactive may not be good candidates for self-guided e-collar training. These dogs benefit from a more carefully structured approach and should be evaluated by a professional trainer before any remote collar work begins.
How to Set Up and Fit an E-Collar Correctly
Proper fit is one of the most critical parts of a safe e-collar setup. A poorly fitted collar produces inconsistent stimulation, potential skin irritation, and unreliable training outcomes.
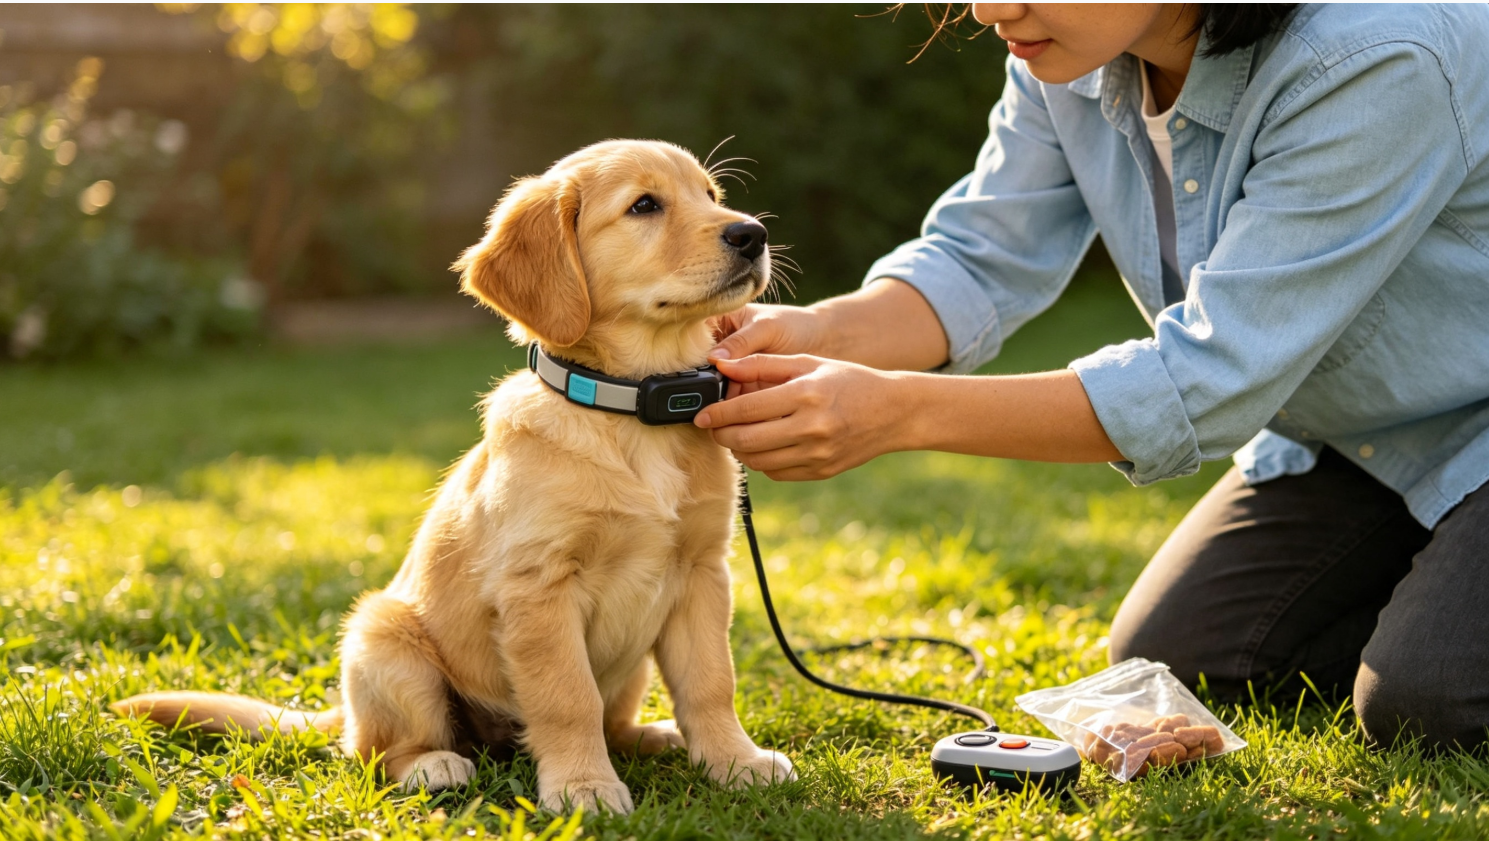
Placement. Position the collar receiver high on the neck, just below the ears and slightly to the side of the windpipe. This placement keeps the contact points in consistent contact with the skin as the dog moves.
Tightness. You should be able to slide two fingers snugly under the collar strap but no more. If the receiver shifts easily when the dog moves, it is too loose. If the collar leaves pressure marks or causes discomfort just from being worn, it is too tight.
Contact points. The metal contact points, sometimes called probes, must touch the skin directly. Dogs with thick or dense coats may need longer contact points to ensure skin contact. If the probes are resting on top of the fur, stimulation will be unreliable or undetectable.
Rotation. If the collar is worn for an extended period, reposition the receiver slightly on the neck every couple of hours to reduce the risk of irritation. Follow the manufacturer’s wear-time instructions for your specific collar, check your dog’s skin before and after use, and avoid leaving the collar on as an all-day management tool.
Read the manual first. Every e-collar model is different. Before you put the collar on your dog, take time to learn how your specific device works. Understand how to lock the stimulation level, how to switch between tone, vibration, and static modes, and how to operate the remote comfortably so that your handling is smooth during training.

How to Introduce E Collar Training for Beginners
The introduction phase is where patience creates the best results. For a more detailed guide, see our e-collar training for beginners resource. Rushing this phase is one of the most damaging mistakes a beginner can make. The goal here is for your dog to accept the collar calmly and begin to understand the sensation as a familiar signal from you rather than something random or threatening.
Step 1: Wear before activating. Put the collar on your dog during normal daily activities, such as meals, playtime, or a walk, without turning it on. Do this for several days before you activate the collar at all. This prevents your dog from becoming “collar-wise,” meaning they only obey when they see the remote in your hand because they have learned the collar signals what is coming.
Step 2: Find the working level. The working level is the lowest stimulation level at which your dog shows a subtle and calm sign of awareness. Signs to look for include a slight ear flick, a gentle head turn, a mild shift in attention, or a brief change in posture. These are exactly what you want to see.
What you do not want to see is yelping, flinching, spinning, or a startled reaction. If any of those occur, the level is too high. Come down immediately until those reactions stop.
Start at the lowest available setting and increase one level at a time while watching your dog carefully. Stop as soon as you see that first quiet, subtle response. That is your working level.
Step 3: Condition the collar before adding harder work. Collar conditioning means helping your dog understand that the sensation is a clear, familiar signal from you, not something random or threatening. This should be done slowly, at a low working level, and alongside guidance and rewards your dog already understands. This step helps build clarity before adding distance, distractions, or more challenging situations.
Keep sessions short, around seven to ten minutes, and always end on a positive response.
Step 4: Start in the quietest environment you have. A calm backyard or a low-traffic indoor area is the right starting point. Once your dog is responding well there, gradually introduce more distractions. Distractions are the final layer of the training progression, not the beginning.
Some veterinary behavior organizations caution against aversive training tools, including electronic collars, because poor use can increase stress, fear, or confusion. That is why beginners should be careful, avoid punishment-based use, and focus on foundation training, low-level communication, rewards, and professional guidance when needed. Your dog’s emotional well-being should stay at the center of the training plan.
Basic Commands to Practice First
Once your dog is conditioned to the collar and you have identified the working level, you can begin pairing stimulation with commands your dog already knows. The collar reinforces known behavior. It does not teach new behavior from scratch.
Here is a practical beginner command progression for remote collar training:
Come (Recall). Recall training is one of the most important uses of the remote collar. Begin recall training with a leash or long line, a known verbal cue, and rewards your dog values. If the collar is used, it should be introduced at the working level with careful timing and clear guidance so your dog understands that coming back to you is the correct choice. Reward generously when your dog arrives so recall stays positive and reliable.
Sit. Give the verbal cue in a quiet setting where your dog already understands the sit command. Use leash guidance, body language, and rewards to help your dog succeed. If the collar is part of the plan, keep the signal low, brief, and clearly paired with the behavior your dog already knows.
Down. Follow the same timing structure as sit. Cue, stimulate, release on compliance, and reward calmly once the dog is in position.
Place. The place command sends your dog to a specific mat or surface and asks them to stay there. Start with the mat close to you. Apply stimulation as you give the cue and release when your dog steps onto the mat. Build duration gradually, then increase distance across multiple sessions.
Heel. Begin heel work in low-distraction environments. Use the collar to support attention and position during walks, which helps build reliable leash manners over time. Keep the leash on during all early heel practice with the collar.
Off. This command teaches your dog to stop jumping on people or surfaces. Teach it clearly on leash first, then reinforce it with the collar once the behavior is already understood.
Throughout all of this work, keep the leash attached. The leash provides physical guidance that supports what the collar is communicating. Removing it before your dog fully understands the collar signal is a very common mistake that sets beginners back. For a structured path toward reliable off-leash dog training, working with a professional trainer will help you advance more safely and consistently.
Common Mistakes to Avoid
Understanding these mistakes before you start will save you and your dog considerable time and frustration.
Starting above the working level. Beginning at a stimulation level that causes a visible reaction, such as flinching or shutting down, is the most damaging mistake in beginner e collar training. It creates a stress response instead of a learning response and can make your dog fearful of the collar.
Using the collar as punishment. Applying stimulation after a behavior has already ended, or pressing the button out of frustration, does not teach your dog anything useful. It damages trust and creates anxiety around training. The collar communicates guidance. It does not deliver punishment.
Skipping the obedience foundation. If your dog does not understand a command without the collar, adding stimulation will not clarify it. It will only add pressure to an already confusing situation. Build command understanding first, then reinforce it with the collar.
Moving too fast to distractions. Seeing quick results in the backyard and immediately testing the collar at a busy park or dog-heavy trail is a very common mistake. Dogs process commands very differently under high arousal. Increase the level of distractions slowly and deliberately over multiple sessions.
Poor timing. Stimulation should be applied at the same time as the verbal cue and released the instant the dog begins to respond. Delayed or prolonged stimulation confuses the dog about which behavior was being addressed and makes learning slower.
Leaving the collar on all day. The e-collar is a training tool, not an all-day management device. Extended wear without a training purpose can reduce the collar’s connection to structured training and may increase the risk of skin irritation. Follow the device manual, reposition the receiver as directed, and remove the collar when training is finished.
When to Get Professional Help
Some situations benefit significantly from professional involvement before any remote collar work begins. Trying to troubleshoot complex problems on your own with an e-collar can create new issues that are harder to resolve.
Pause your e-collar training and contact a professional trainer if your dog shows any of the following:
- Yelping, flinching, or freezing during stimulation at any level, including very low ones
- Shutting down, becoming withdrawn, or refusing to engage during sessions
- Increased anxiety, panting, pacing, or avoidance between training sessions
- Consistently failing to respond to commands, even with stimulation applied correctly
- Any increase in reactivity, growling, or tension during or after sessions
These responses indicate that the current approach is creating pressure the dog cannot process effectively. This does not always mean the e-collar is wrong for your dog. It means the introduction, the stimulation level, or the foundational training needs to be adjusted. An experienced trainer can identify exactly what needs to change and build a plan around your specific dog.
Dogs with fearful, reactive, or anxious tendencies especially benefit from professional evaluation before remote collar work begins.
Private training sessions and board and train programs can help dogs build the foundation needed for clearer remote collar communication. The right program depends on the dog’s age, temperament, obedience level, and behavior goals. Reviewing available training programs and pricing can help owners choose the option that best fits their dog’s needs.
Final Thoughts
E-collar training for beginners is entirely achievable when you approach it with the right preparation, the right pace, and honest expectations. The collar does not replace a training foundation. It extends and reinforces one that is already solid. When the introduction is handled correctly, remote collar training can support consistent obedience and stronger communication around distance and distractions. It works best when it builds on a solid obedience foundation and is practiced with patience, structure, and good timing.
Start slow. Work in quiet environments before adding distractions. Keep sessions short and end on a positive note every time. Pay close attention to what your dog is telling you throughout the process.
If you are a dog owner in Murrieta, CA who is considering remote collar training, talking with a professional trainer before starting on your own can help you avoid common mistakes. A trainer can help evaluate your dog’s readiness, introduce the collar at the right pace, and build a plan that supports confidence, obedience, and long-term follow-through.
Reach out to our team today to find out how we can help you and your dog start e collar training the right way.
Frequently Asked Questions About E Collar Training for Beginners
Q1: What should I do first when setting up an e collar for the first time?
Before activating the collar at all, let your dog wear it turned off during normal daily activities for several days. This helps your dog accept the collar as a neutral, familiar object before any stimulation is ever introduced. Once your dog is relaxed wearing it, you can move on to finding the working level with the device turned on.
Q2: How old does my dog need to be to start e-collar training?
E-collar training typically begins around 5 months of age for Murrieta training programs, once a puppy has a foundation through clicker or treat-based training. Younger puppies should focus on socialization, confidence-building, leash manners, potty training, crate training, and basic commands first. A trainer can help determine whether your dog is ready.
Q3: What is a working level, and how do I find it safely?
The working level is the lowest stimulation level at which your dog shows a calm, subtle sign of awareness, such as a slight ear flick, a gentle head turn, or a brief shift in attention. To find it, start at the lowest possible setting on the device and increase one level at a time while watching your dog closely for any quiet response. The moment you see that first subtle reaction, stop and note that level, because that is the correct starting point for training.
Q4: How do I use an e-collar for recall training with my dog?
Start recall training with a known command, a leash or long line, and rewards your dog enjoys. If an e-collar is used, it should be introduced at the dog’s working level with careful timing and clear guidance, not as a punishment for running away. Reward your dog warmly when they return so coming back to you remains a positive habit.
Q5: When should I work with a professional trainer instead of continuing on my own?
If your dog shows signs of stress, such as yelping, shutting down, becoming more anxious, or consistently not responding even at low stimulation levels, it is time to stop and contact a professional trainer. These responses mean the current approach needs to be adjusted, and an experienced trainer can assess your dog’s needs and restructure the plan appropriately. Starting with professional guidance is especially valuable for dogs with existing behavioral challenges or fearful tendencies, where the stakes of getting the introduction wrong are higher.